django將圖片保存到mysql數據庫并展示在前端頁面的實現
小編使用python中的django框架來完成!
1,首先用pycharm創建django項目并配置相關環境這里小編默認項目都會創建
settings.py中要修改的兩處配置
DATABASES = { ’default’: {# ’ENGINE’: ’django.db.backends.sqlite3’,# ’NAME’: os.path.join(BASE_DIR, ’db.sqlite3’),’ENGINE’: ’django.db.backends.mysql’,’NAME’: ’photos’,’HOST’: ’127.0.0.1’,’PORT’: ’3306’,’USER’: ’root’,’PASSWORD’: ’201314’, }}STATIC_URL = ’/static/’STATICFILES_DIRS = [ os.path.join(BASE_DIR, ’static’)]2,創建表
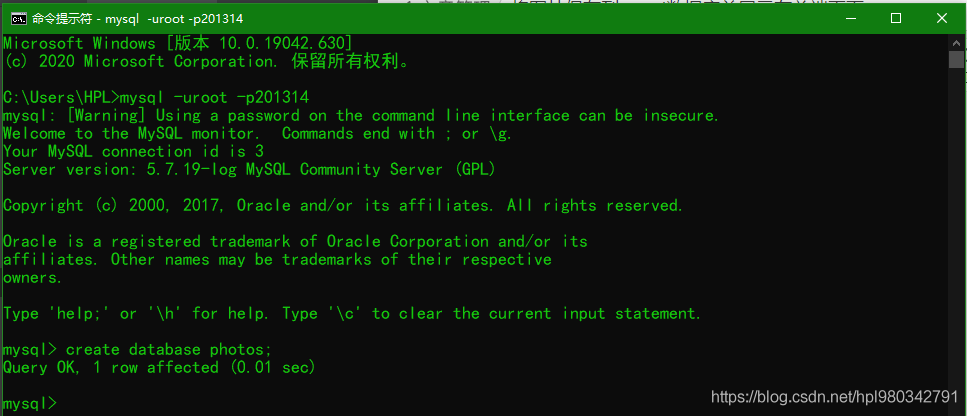
①先按鍵盤上win+s鍵,然后輸入cmd,中文輸入法兩下回車,英文輸入法一下回車,即可進入dos窗口。
②輸入 mysql -uroot -p密碼 回車進入mysql數據庫,再輸入 create database 庫名; 一個小回車,創建數據庫🆗
③在app下的models.py中創建表結構
models.py
from django.db import models# Create your models here.class Images(models.Model): img = models.ImageField(upload_to=’static/pictures/’) # upload_to=’static/pictures/’是指定圖片存儲的文件夾名稱,上傳文件之后會自動創建 img_name = models.CharField(max_length=32) create_time = models.DateTimeField(auto_now_add=True)
④遷移數據庫
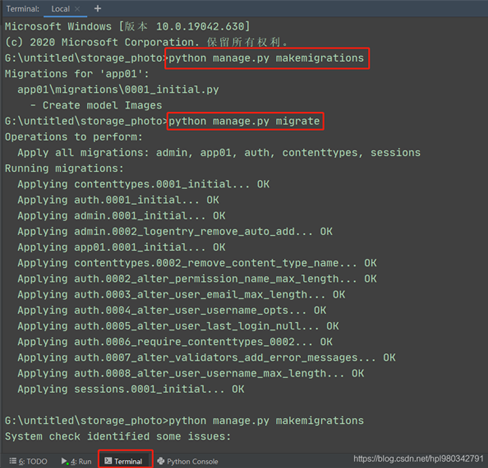
分別按順序在pycharm下面的Terminal中執行下面兩條語句
python manage.py makemigrationspython manage.py migrate
urls.py
from django.conf.urls import urlfrom django.contrib import adminfrom app01 import viewsurlpatterns = [ url(r’^admin/$’, admin.site.urls), url(r’^upload/$’, views.upload, name=’upload’),]
views.py
from django.shortcuts import render, redirectfrom app01 import models# Create your views here.def upload(request): error = ’’ if request.method == ’POST’:img = request.FILES.get(’img’)pic_name = img.nameif pic_name.split(’.’)[-1] == ’mp4’: error = ’暫不支持上傳此格式圖片!!!’else: models.Images.objects.create(img_name=pic_name, img=img) return redirect(’show’) return render(request, ’upload.html’, locals())
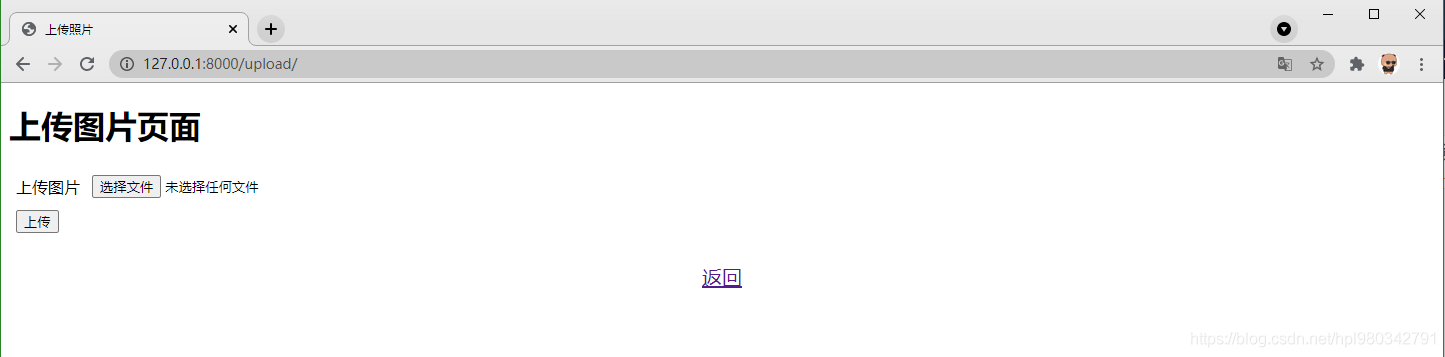
前端上傳頁面upload.html
<!DOCTYPE html><html lang='en'><head> <meta charset='UTF-8'> <title>上傳照片</title></head><body><div style='height: 160px'> <form action='' method='post' enctype='multipart/form-data'>{% csrf_token %}<h1>上傳圖片頁面</h1><table cellpadding='5px'> <tr><td>上傳圖片</td><td><input type='file' name='img'></td> </tr> <tr><td> <button>上傳</button></td><td><strong style='color: red'>{{ error }}</strong></td> </tr></table> </form></div><div style='text-align: center;color: #2b542c;font-size: 20px;'> <a href='http://www.aoyou183.cn/bcjs/ {% url ’show’ %} ' rel='external nofollow' >返回</a></div></body></html>
urls.py
'''from django.conf.urls import urlfrom django.contrib import adminfrom app01 import viewsurlpatterns = [ url(r’^admin/$’, admin.site.urls), url(r’^upload/$’, views.upload, name=’upload’), url(r’^show/$’, views.show, name=’show’),]
views.py
from django.shortcuts import render, redirectfrom app01 import models# Create your views here.def upload(request): error = ’’ if request.method == ’POST’:img = request.FILES.get(’img’)pic_name = img.nameif pic_name.split(’.’)[-1] == ’mp4’: error = ’暫不支持上傳此格式圖片!!!’else: models.Images.objects.create(img_name=pic_name, img=img) return redirect(’show’) return render(request, ’upload.html’, locals())def show(request): all_images = models.Images.objects.all() # for i in all_images: # print(i.img) return render(request, ’show.html’, locals())
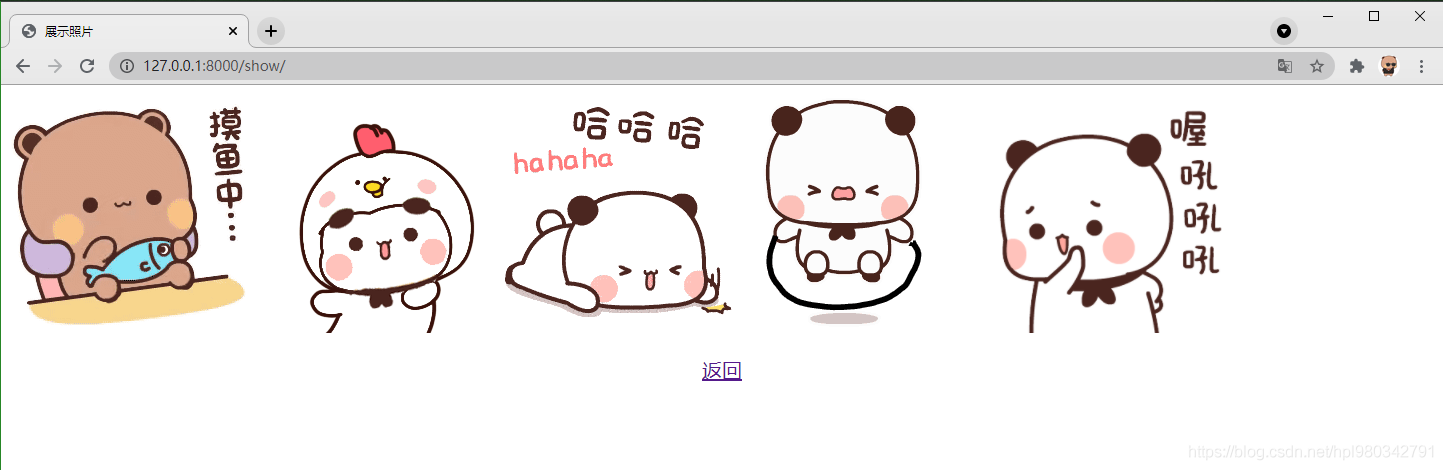
前端展示show.html
<!DOCTYPE html><html lang='en'><head> <meta charset='UTF-8'> <title>展示照片</title></head><body>{% for image in all_images %} <img src='https://rkxy.com.cn/{{ image.img }}' style='width: 240px;height: 240px;'>{% endfor %}<br/><p style='text-align: center;color: #2b542c;font-size: 20px;'> <a href='http://www.aoyou183.cn/bcjs/{% url ’upload’ %}' rel='external nofollow' rel='external nofollow' >返回</a></p></body></html>
urls.py
from django.conf.urls import urlfrom django.contrib import adminfrom app01 import viewsurlpatterns = [ url(r’^admin/$’, admin.site.urls), url(r’^upload/$’, views.upload, name=’upload’), url(r’^show/$’, views.show, name=’show’), url(r’^delete/$’, views.delete, name=’delete’),]
views.py
from django.shortcuts import render, redirectfrom app01 import models# Create your views here.def upload(request): error = ’’ if request.method == ’POST’:img = request.FILES.get(’img’)pic_name = img.nameif pic_name.split(’.’)[-1] == ’mp4’: error = ’暫不支持上傳此格式圖片!!!’else: models.Images.objects.create(img_name=pic_name, img=img) return redirect(’show’) return render(request, ’upload.html’, locals())def show(request): all_images = models.Images.objects.all() # for i in all_images: # print(i.img) return render(request, ’show.html’, locals())def delete(request): pk = request.GET.get(’pk’) models.Images.objects.filter(id=pk).delete() return redirect(’show’)
show.html
<!DOCTYPE html><html lang='en'><head> <meta charset='UTF-8'> <title>展示照片</title></head><body>{% for image in all_images %} <img src='https://rkxy.com.cn/{{ image.img }}' style='width: 240px;height: 240px;'> <a href='http://www.aoyou183.cn/delete/?pk={{ image.id }}' rel='external nofollow' >刪除</a>{% endfor %}<br/><p style='text-align: center;color: #2b542c;font-size: 20px;'> <a href='http://www.aoyou183.cn/bcjs/{% url ’upload’ %}' rel='external nofollow' rel='external nofollow' >返回</a></p></body></html>
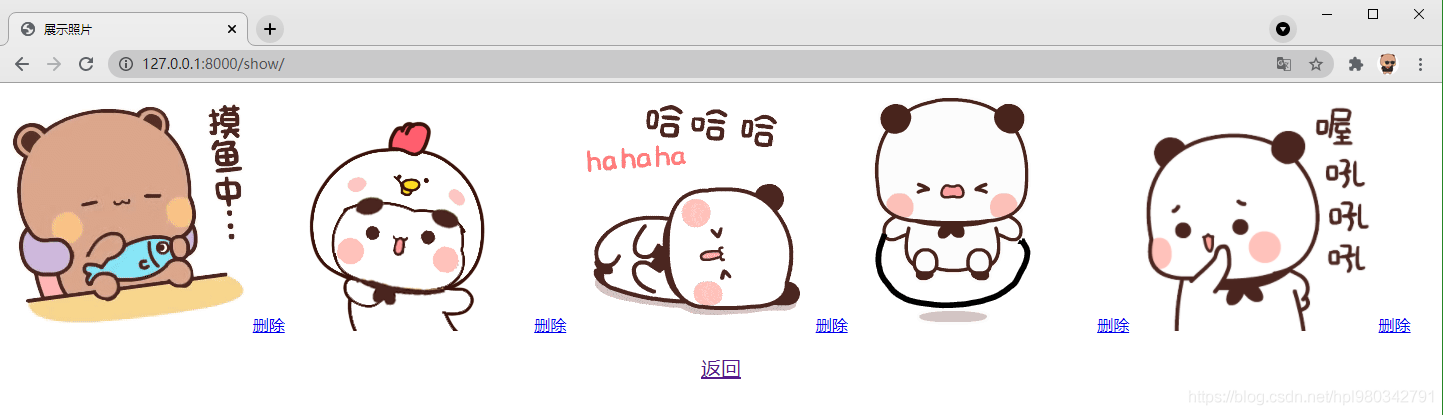

因為時間緊,故以最low方式簡要實現,并沒有加上漂亮的頁面和樣式,喜歡美的看客朋友可自行去Bootstrap官網或jq22自行添加!!!
到此這篇關于django將圖片保存到mysql數據庫并展示在前端頁面的實現的文章就介紹到這了,更多相關django 圖片保存到mysql內容請搜索好吧啦網以前的文章或繼續瀏覽下面的相關文章希望大家以后多多支持好吧啦網!
相關文章:

 網公網安備
網公網安備